Window Covering Installation: Are You Doing It Right?
The process of covering the windows might seem easy, but the effect of a product of high-quality, and smooth appearance requires more accuracy than most individuals imagine. These tricks make sure that you can have your curtains well-adjusted, your shades work without problems, and your house is also well-decorated even in terms of interior details. This education manual will teach you pro installation tricks that can make a tremendous difference in the overall appearance and functionality of your window coverings. Be it the curtains, blinds, or a combination of either, these are the tricks that will enable you to deliver clean and impressive results every time.
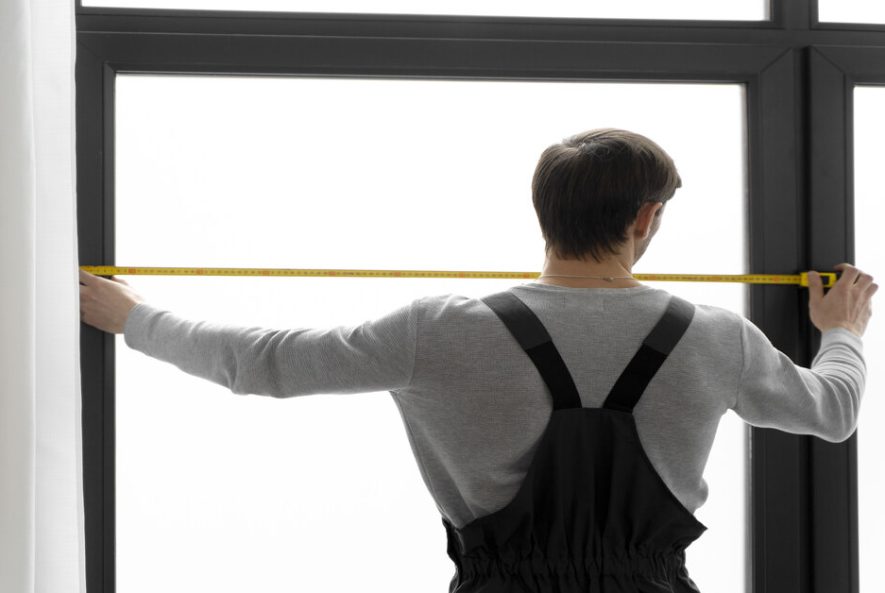
Measure With Precision
The majority of problems with installation start with improper measurements. There are several points where measurements are executed along the window and by more than one professional. This would explain crooked walls, odd framing or minor height variation.
When measuring, always note:
- Trespass of internal and exterior window frame.
- Elevation of the total window height.
- Ceiling/Window top Space.
- Depth on inside mounted shades.
- Clearance required on rods or brackets.
Taking precautions will mean that your coverings fit and that they will be hanging even as you want.
Know the Difference Between Inside and Outside Mounts
Your installation method affects both appearance and function.
Inside Mount
This creates a clean, fitted look ideal for shades, blinds, or minimalistic styles.
It works best when the window frame is deep, even, and square.
Outside Mount
This method allows you to:
- Make windows look larger
- Add dramatic height
- Improve blackout effectiveness
Most designers prefer outside mounts for curtains because they create more visual impact and control light better. This is an especially useful technique when planning a layered window treatment design, as it provides the necessary space and structure for multiple covering types.
Select the Right Tools Before You Begin
Professional installers never start without the correct tools. Having everything ready not only speeds up the process but ensures accuracy.
You’ll need:
- Measuring tape
- Level
- Stud finder
- Drill with appropriate drill bits
- Pencil for marking
- Screws and anchors
- Quality brackets or mounting hardware
The better the tools, the better the final result.
Find the Studs (or Create Strong Anchors)
The stability is necessary to be installed smoothly. The weight of curtains, particularly heavy, on the wall is surprising.
If studs are present, use them.
Otherwise, high-quality wall anchors should be used.
Use heavy-duty anchors, which do not loosen with time and can lead to hanging rods or brackets of different lengths.
Position the Rod at the Right Height for a Professional Look
A common mistake is installing rods too close to the window frame. Professionals always mount higher to create visual height and elegance.
Ideal placement:
- 4–6 inches above the window, or
- Almost to the ceiling for a taller, more elevated look
Higher placement also prevents the window from appearing visually short or cramped.
Extend the Rod to Frame the Window Properly
Pro installers avoid covering any part of the glass when curtains are open.
This is done by extending the rod’s width 8–12 inches beyond each side of the window.
This technique:
- Lets in maximum natural light
- Makes the window appear wider
- Provides space for full curtain stacking
It’s one of the simplest ways to create a clean, luxurious finish.
Ensure Perfect Leveling Before Drilling
Once a hole is drilled, mistakes become much harder to fix.
Professionals always check leveling twice, sometimes three times, before committing.
Use a level to ensure:
- Both brackets are aligned
- Rods sit perfectly straight
- Shades rise and lower smoothly
Even a small tilt becomes very noticeable once curtains or blinds are installed.
Use Professional-Grade Hardware for Durability
The hardware you choose affects not only appearance but longevity. High-quality rods, brackets, screws, and anchors prevent sagging over time.
Look for:
- Reinforced metal brackets
- Solid rods with no bending
- Heavy-duty screws
- Rust-resistant finishes
Quality hardware prevents many issues that cheaper materials can create.
Steam or Iron Before Installing Curtains
One of the largest secrets to a smooth appearance is that the fabric should be prepared before being installed.
Even when it is hung in the most exquisite manner, wrinkled curtains appear disheveled.
Pro tip: Steam the panels when they are suspended. This makes them fall in their natural way and evenly.
Check Movement, Light Flow, and Functionality
After installation, professionals always test:
- Opening and closing smoothness
- Light-blocking effectiveness
- Privacy levels
- Any rubbing or obstruction
- Evenness of panel drape
Functionality matters just as much as appearance.
FAQs
1: Can I install heavy drapes on regular drywall?
Yes, but then with heavy-duty anchors, or by making sure that the brackets are fastened into studs. Frequent drywall will not sustain the weight of high quality or layered drapes panels.
2: How high should I hang window coverings in a room with low ceilings?
Still aim to hang the rod as close to the ceiling as possible. This creates the illusion of height and prevents the room from looking short or compressed.
Final Thoughts
To install window coverings as a professional would takes more than just some brackets and fabric. It requires accuracy, patience and attention to detail, not only in the accuracy of measurement but also in the correct choice of hardware and ensuring that it is all straight. The outcomes of spacing when done properly uplift the space, optimize the natural lighting, and overall design flow. These pro installation tips can help you create a smooth, finished look in your home with the ability to create the quality of an interior-designer in every room of the house and bring comfort, beauty and functionality to all rooms.